The useful bit, first
- Protect one useful preparation area rather than clearing every surface equally.
- Keep appliances on the counter according to use and their manufacturer clearance needs.
- Plan the temporary stages of groceries and washing up so they do not consume the prep area.
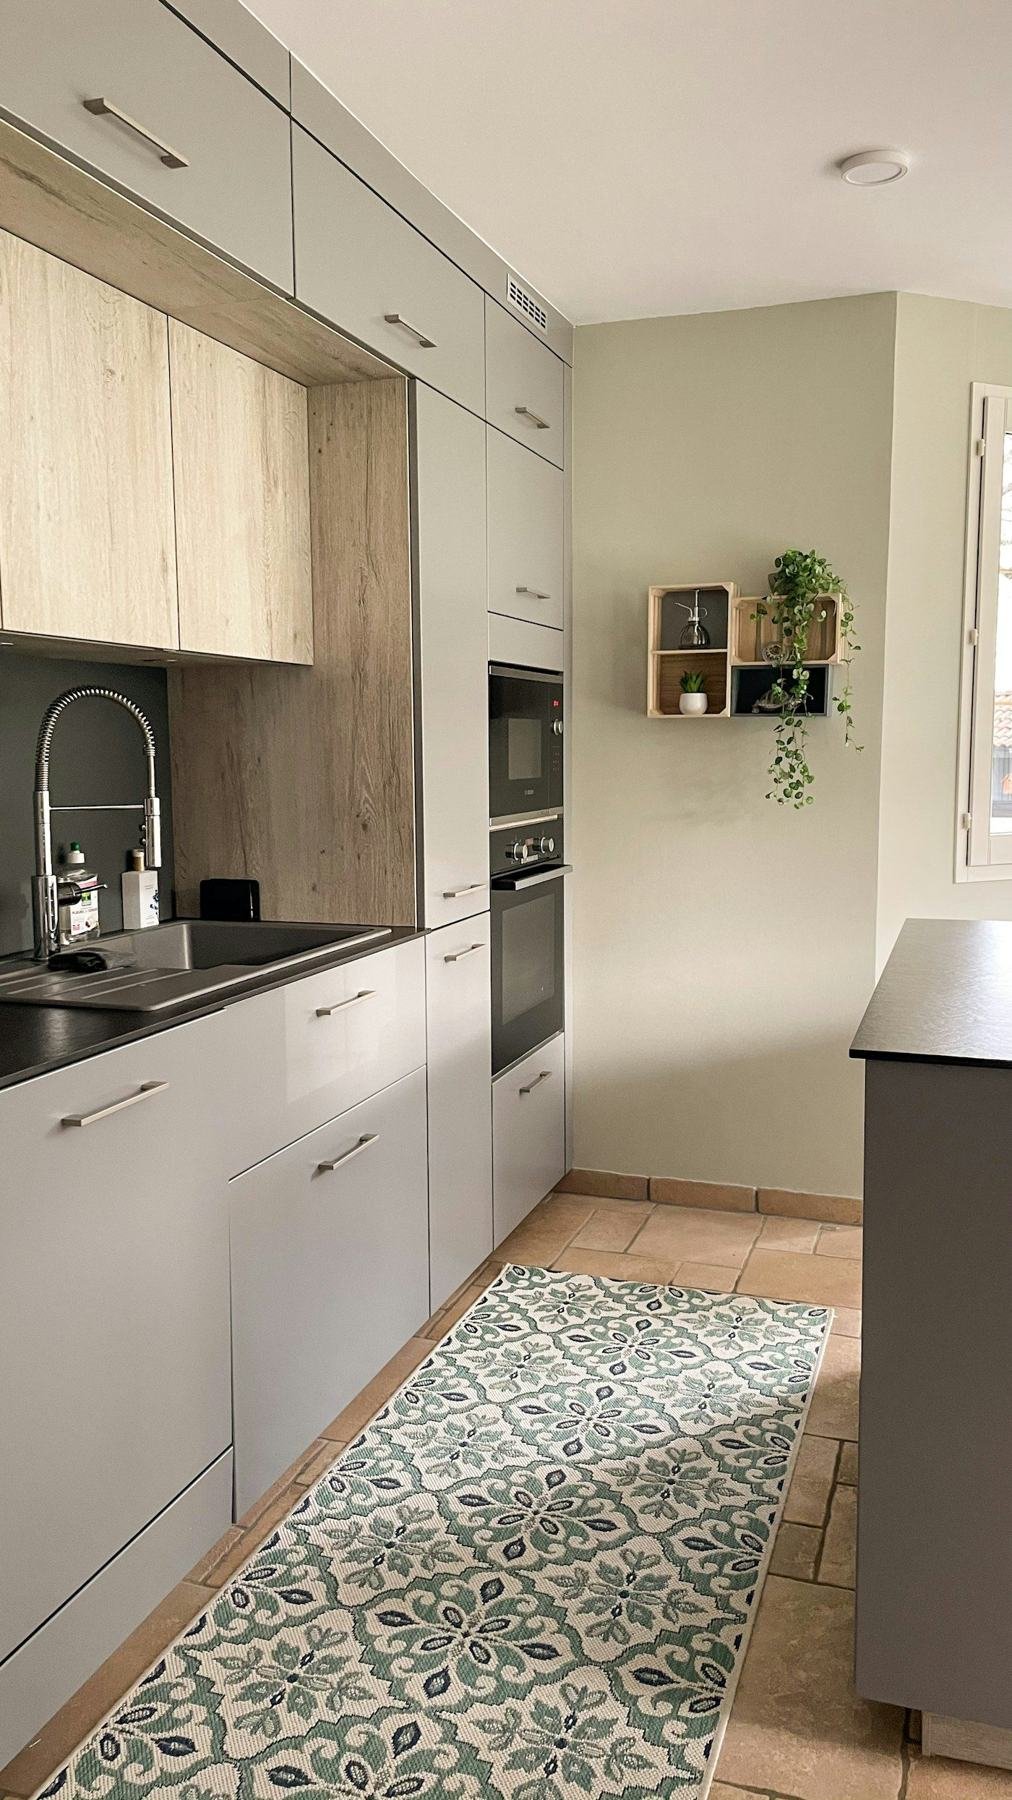
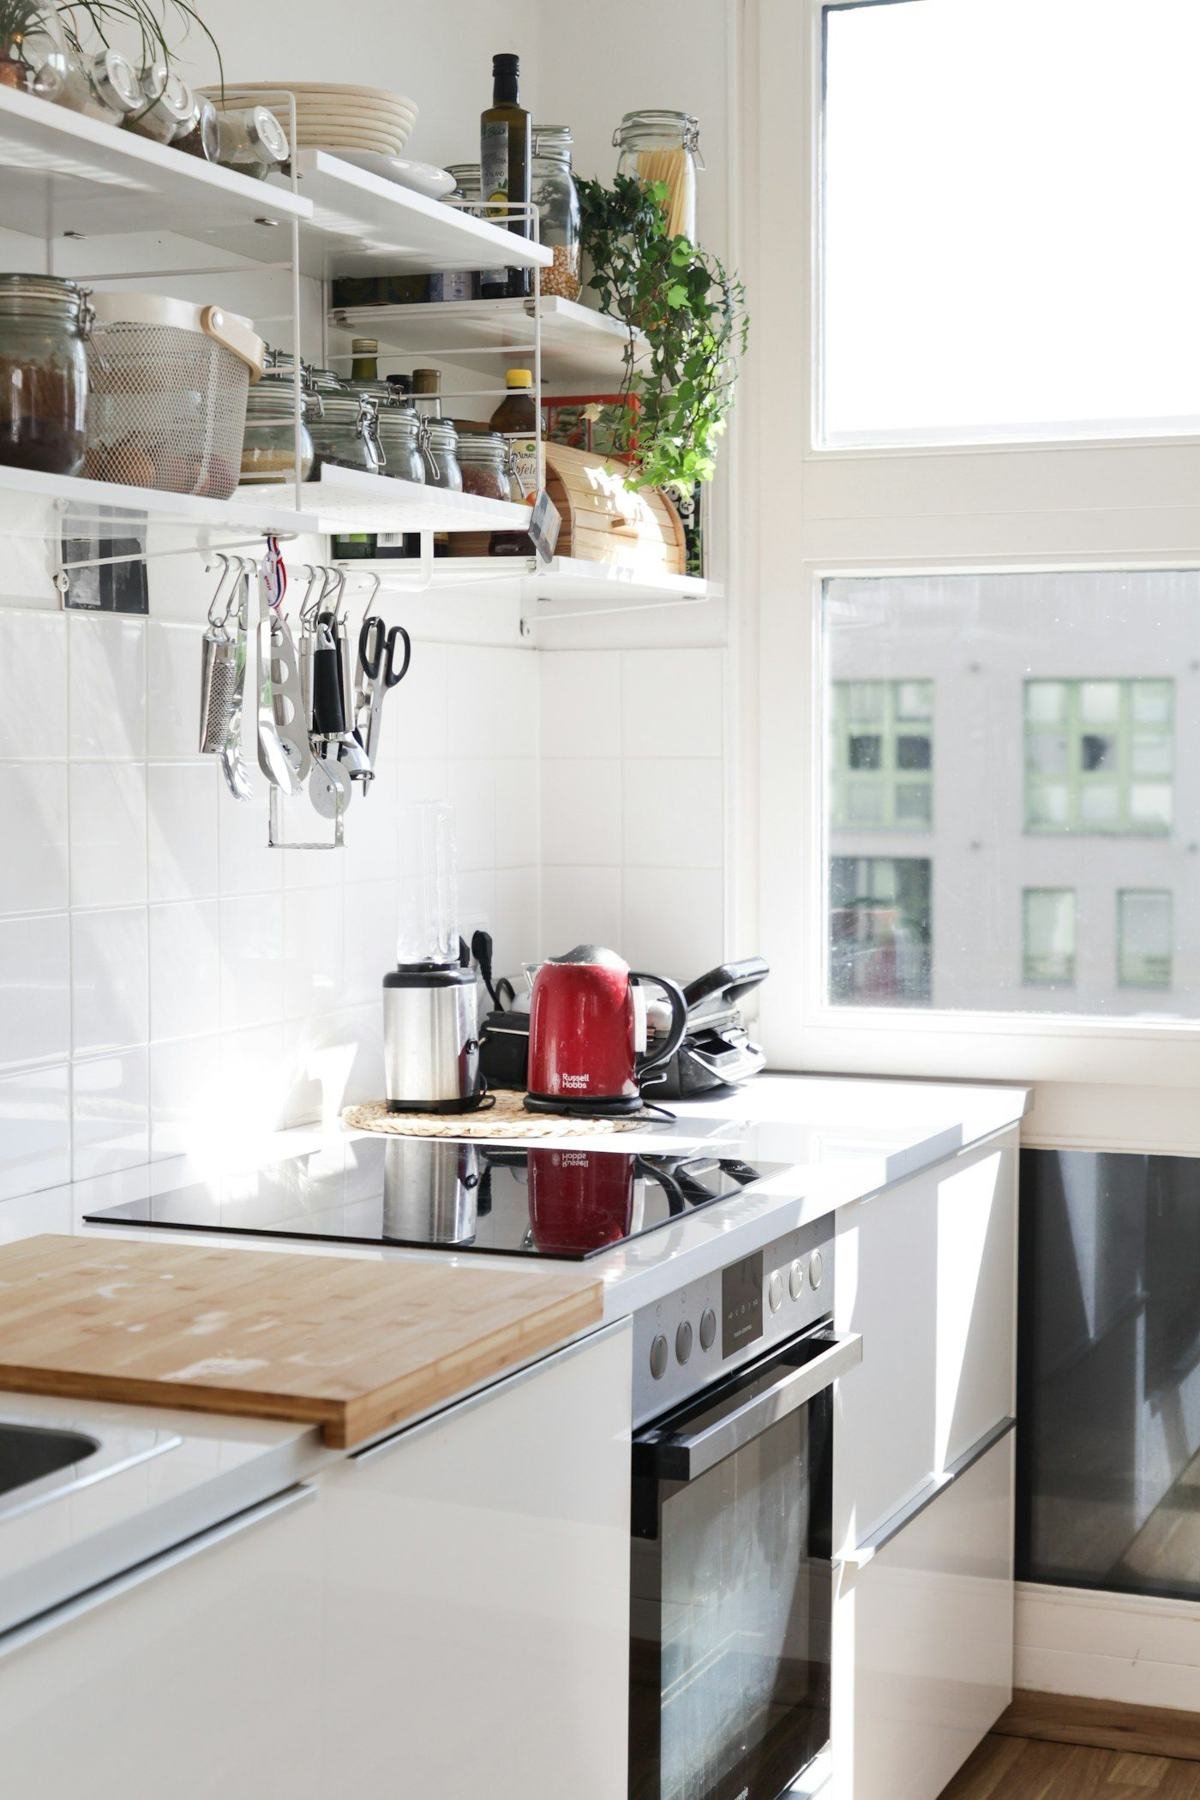
A small kitchen can have enough counter area on paper and still feel impossible to cook in. The usable part is what remains after the kettle, dishes, fruit bowl, delivery bag, and bread board have settled there. The objective is not an empty kitchen. It is a reliable place where you can prepare the meals you actually make.
Begin with one typical dinner. Imagine setting down ingredients, using the cutting board, handling the bowl, and moving the finished food. Notice which object would need relocating at every step. Those interruptions tell you where to focus before adding a cart or buying smaller appliances.
Choose your main preparation area
Pick the most practical existing surface for food preparation. It should suit the activity and allow a comfortable working position for its user. Account for the sink, cooking appliances, cupboard access, and the space around the equipment involved. Follow relevant appliance instructions rather than fitting objects tightly around heat sources.
Place the cutting board you normally use there, with a bowl and the ingredients for a familiar meal. This simple trial shows whether the area is wide and deep enough for your routine. A visually empty corner may not help if it is too narrow for the board or awkward to stand beside.
Protect that area from permanent storage. Move the decorative canister or unused appliance only if it frees meaningful working room. Clearing ten inches in three separate corners may be less useful than creating one continuous area where the board and a bowl can sit together.
Decide which appliances deserve a permanent place
List countertop appliances and how often each is used. A kettle used several times a day may justify a fixed spot. A blender used twice a month may not. Frequency matters, but so do weight, handling, and the availability of appropriate storage.
If an appliance is stored away, it needs a suitable home that you can access without difficult lifting or moving a stack. Keep its parts together. An appliance without a workable return destination tends to remain on the counter after the first use, whatever the original plan said.
For appliances left out, check the model's directions for position, air clearance, nearby surfaces, and operation. GE's guidance notes that clearance requirements vary across appliances; use the information for your actual model. Do not push appliances into a tight corner or under a low shelf simply to gain a little preparation space.
Give each countertop object a reason to stay
Look beyond appliances. A utensil jar is useful if the tools are frequently needed and its position is appropriate. A large collection of rarely used tools can move to a drawer. The fruit bowl can stay if it is part of the eating routine, but perhaps a smaller one fits the household better.
Food packaging can take more area than expected. Keep a bread supply, snacks, and reserve ingredients in appropriate storage rather than treating every package as countertop equipment. Avoid moving cleaning products into food storage to make the surface look tidy.
Keep the stovetop out of the storage plan. The U.S. Fire Administration advises keeping combustible items away from cooking surfaces. Counter space gained by resting packaging, towels, or decorative boards on cooking equipment is not a useful solution. Make the preparation area work elsewhere.
Plan the dish stage, including what happens after drying
Washing up often occupies the only available counter. Look at the whole sequence: dirty dishes arrive, they are washed, they dry by the chosen method, and they return to storage. A compact rack only solves one stage if clean dishes then remain on it all day.
Choose a rack or drying arrangement suited to the sink, surface materials, and household quantity. Measure its footprint when in use, not only when folded. A foldable rack can be useful for occasional overflow, but it requires an appropriate home when not needed.
Make putting away part of the next kitchen visit when practical. Return dry dishes before beginning another meal, so the drying area does not expand into preparation space. If several people share the kitchen, clarify which area remains available during busy periods instead of relying on everyone to infer it from the layout.
Use temporary extra surfaces only for defined tasks
A suitably designed over-sink board can provide a temporary surface in some kitchens. Check its fit, stability, intended use, care instructions, and the access it removes. You may still need the sink for washing hands or rinsing ingredients while using the board, so plan the sequence.
A cart or small table can offer another surface if it is designed for the intended task and fits the room. Check stability, weight limits, and any locking wheels. Test the footprint with doors and drawers open. A cart that moves into the only route every time someone uses the fridge has not improved the kitchen.
Avoid treating a new surface as general storage. Give it one clear role, such as holding ingredients during preparation or supporting appropriate serving tasks. When the task ends, return the contents and park the piece in its defined location. Otherwise the extra surface becomes another permanently occupied counter.
Put supplies close to the action they support
Cooking feels easier when you can reach the items you need without spreading them across the room. Place the bowls and tools for frequent preparation close to the clear area where practical. Use drawers or appropriate cupboard organizers to keep the category recognizable.
Consider a basic sequence: take out a bowl, prepare ingredients, cook, serve, wash, put away. The stored locations do not have to follow a textbook layout. They should suit your kitchen's shape and the person using it. An everyday bowl might be better near the prep area than beside a collection of occasional serving pieces.
Keep heavy or awkward items in places that can be handled comfortably. Adding a high shelf may increase storage capacity without making the counter more practical if it creates difficult retrieval for daily equipment. Improve allocation within existing cabinets before moving daily necessities farther away.
Give groceries a short arrival routine
A grocery bag dropped on the preparation area can remain there long after shopping. Make putting away part of arrival, with food handled according to its storage instructions. Use a clear sorting destination briefly, then return the surface to its main job.
If you shop for many packages at once, prepare the cupboards before the trip. Check what is already there and make an appropriate place for the expected quantity. Reserve stock that has no home often settles on the counter, where it occupies space until the next shop arrives.
The routine can be simple: appropriate cold-storage items dealt with promptly, shelf-stable items assigned to their cupboard, empty packaging moved to the correct waste stream, and the bag put away. You do not need matching pantry jars to keep the preparation area usable.
Test the arrangement through a normal week
Cook several typical meals before buying anything else. Note where you still need to move objects, where dishes accumulate, and whether an appliance now feels too awkward to retrieve. One week of ordinary use offers better information than a single cleared-counter photograph.
Adjust the allocation in small ways. You might swap a drawer's contents, reduce the utensil jar, or choose a smaller dish rack. A new cart can wait until you know which task it would serve and where it would live.
A successful small kitchen has somewhere useful to work at the moment you need it. The countertop may still hold a kettle and a bowl of fruit, but the preparation area remains available without a preliminary rearrangement of the room.
Sources & further reading
For the factual or product-specific points referenced in this guide. Check the current instructions for your own products and space.
Make it work for your home.
These are planning ideas. Your room, your routines, and your product instructions come first.Our guides are researched and developed with AI assistance, then reviewed for usefulness, clarity and consistency. Read our editorial policy.